

news
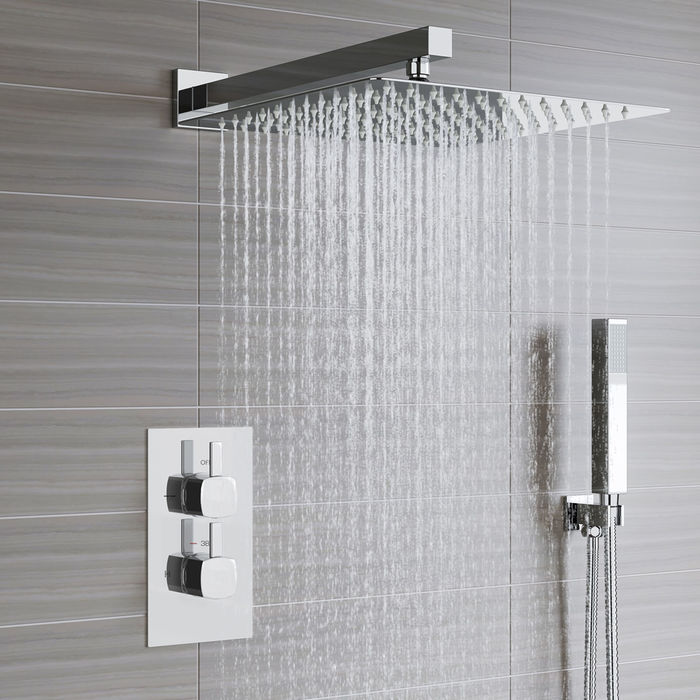
IN WALL SHOWER MIXER INSTRUCTIONS FOR INSTALLATION
Huiqin

Important Note
We do not recommend dismantling the internal parts of the mixer. All mixers have been individually factory tested and assembled to give the best performance.
It is important to flush out the supply pipes before installing the mixer and connecting the flexible hose to hot/cold water supply, regardless of whether a stop valve and filter have been installed or not. This procedure will stop foreign objects from entering the cartridge.In Wall Shower Mixer/in Wall Bath Mixer
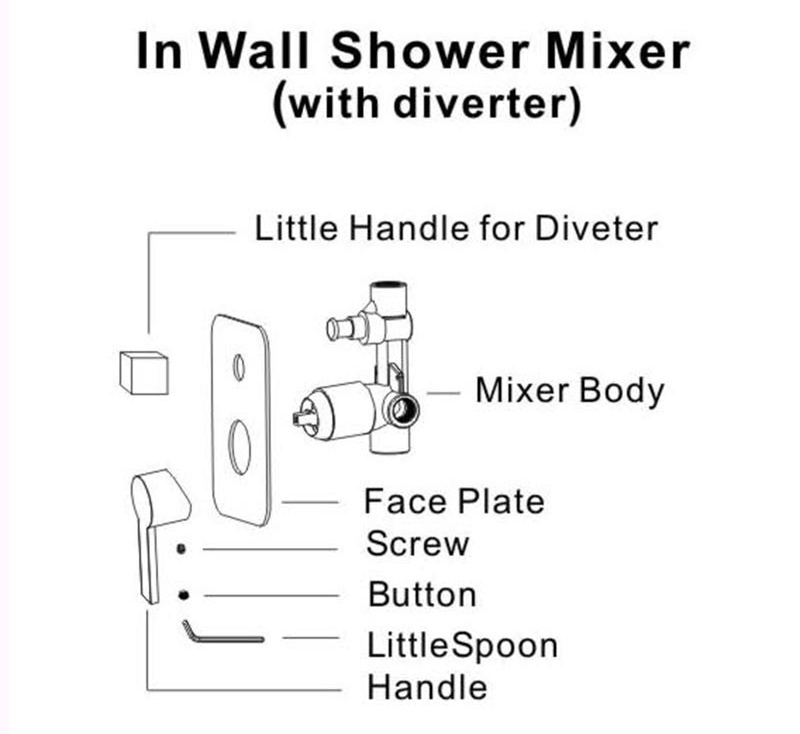
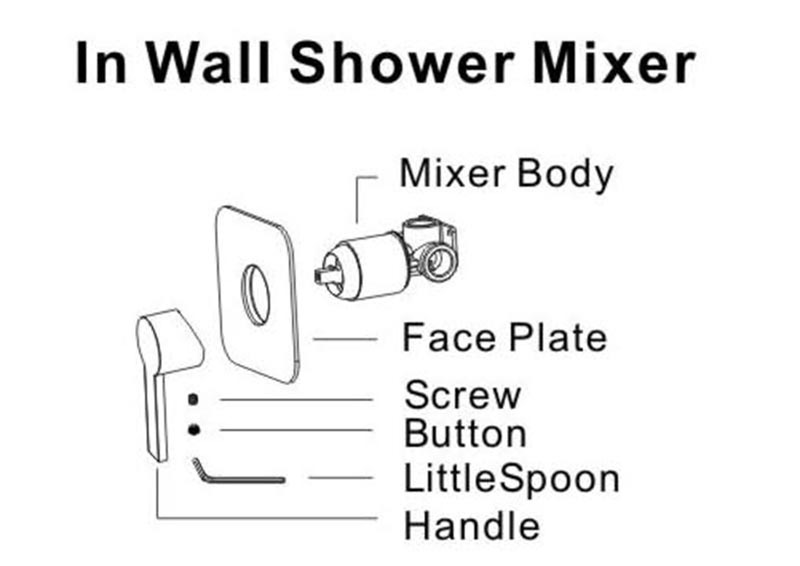
1. Mount the Mixer Body into the wall and connect the body with the inlet and outlet pipes.
2. Repair the wall and take care of the surface protection of the mixer.
3. Install the Face Plate onto the Mixer Body. Please be sure that there is Rubber Ring around the hole of the Face Plate and this will protect the Mixer Body from being scraped by the hole.
4. Install the Handle on the cartridge and fix it up with Screw by the Little Spoon Then put the Button onto the hole of the Handle. For in-wall shower mixer with diverter, if there are single little handle for diverter, install the little handle to diverter also.
5. Install the spout to the outlet directly for an in-wall bath mixer.
